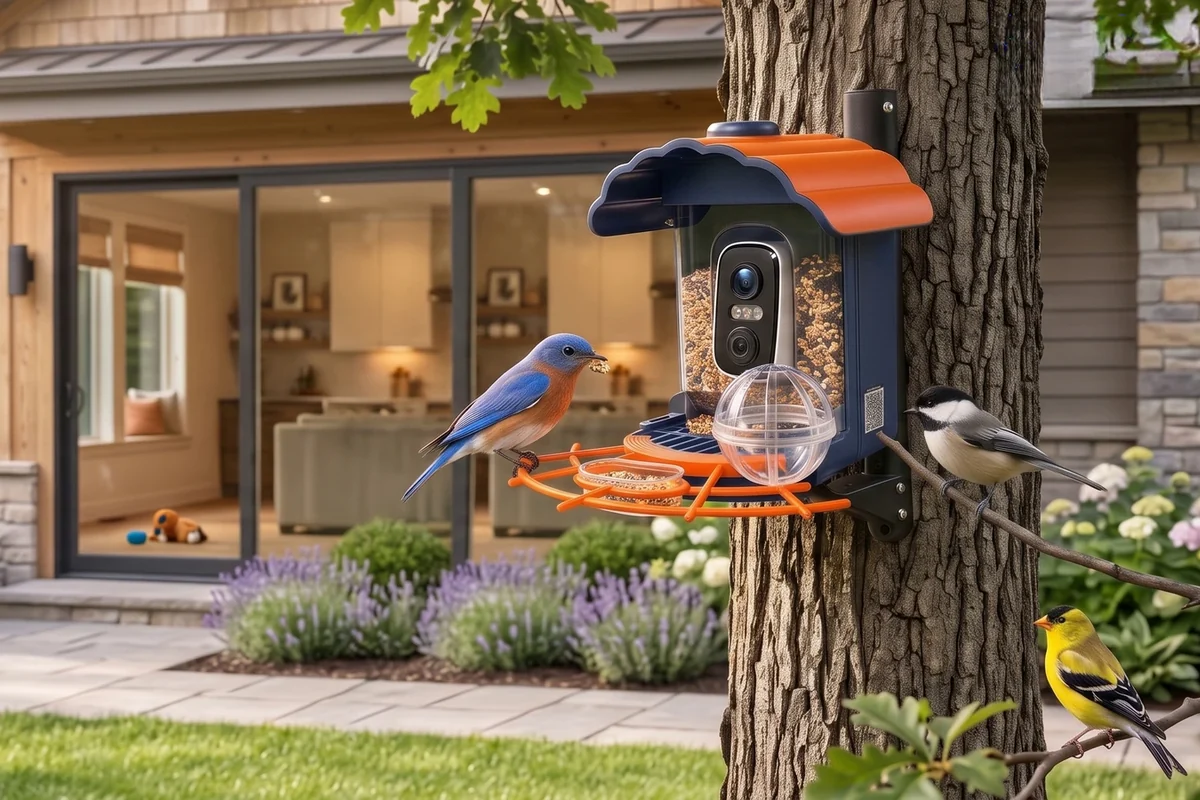
A camera bird feeder works best when the location suits both the birds and the device. A strong signal at the kitchen table does not guarantee a reliable connection at the fence. An attractive camera angle also needs to leave room for refilling, cleaning, and checking the mount.
Before drilling holes or filling the feeder, work through these eight checks with the manual for your exact model. This guide applies to general setup decisions; supported networks, power requirements, weather protection, and camera functions vary by product.
1. Confirm the network requirements
Find the supported Wi-Fi band and pairing instructions in the manual. Do not assume that every smart feeder supports the same bands or setup method. Complete the first connection near the router if instructed, using the official app and an account you control.
Then test the device at the intended outdoor position before mounting it permanently. A phone’s signal indicator is a useful first check, but the feeder itself is the device that needs to connect.
2. Test the view from outside your home network
Once setup is complete, check the live view with your phone on mobile data, if the app supports remote access. This tests a different situation from viewing while both devices are on the same home network. Note any delay or connection failure and resolve it before relying on remote viewing.
Review sharing permissions separately. Give household members access through the app’s supported sharing tools rather than circulating the main account password.
3. Assess windows and surrounding activity
Think about reflections, nearby glass, busy doors, and pets as well as visibility from the sofa. The Cornell Lab’s feeder placement guidance explains why windows need special attention; nearby glass may require effective collision-prevention treatment. Keep cats indoors and plan a location you can monitor.
For a broader location review, see what to check before placing a smart bird feeder.
4. Check the mount before adding weight
Use the mounting method and surface specified by the manufacturer. Include the weight of the feeder, food, any accessories, and the solar panel when reviewing the installation instructions. Check for movement, loose fittings, and obstructions before adding seed.
A location that needs awkward reaching for every refill is worth reconsidering. Leave enough space to remove the food container and any washable parts without taking apart the entire installation.
5. Test power and solar placement separately
If your model uses a rechargeable battery, follow its charging instructions before setup. For solar accessories, follow the product’s orientation and connection guidance. Observe the proposed position through the day; a bright-looking corner may be shaded when the panel needs light.
Solar charging is a power input, not a promise of unlimited operation. Weather, shade, use, and the particular product affect the charging result. Keep a practical plan for checking power and recharging when needed.
6. Frame the feeding area
Look at the actual live image after mounting. Check whether the perch and eating area are visible, whether a roof or accessory blocks the lens, and whether strong backlighting makes the foreground hard to see. Recheck after adjusting the mount.
Avoid pointing the camera into neighboring windows or private spaces. Review the scene at the edges of the image as well as the central bird area.
7. Begin with a small fill and manageable alerts
Use compatible food and a modest first fill. Check how it sits in the tray and how easily the tray can be removed. Our backyard bird seed guide explains how to choose a starting food.
Begin with the app’s recommended detection settings, then review a few captured events. If movement from nearby branches generates frequent alerts, adjust the position or available settings one change at a time. Treat AI species labels as suggestions to check, especially for unfamiliar birds.
8. Make a maintenance note before walking away
Record the installation date, app used, power arrangement, and which parts can be washed. Keep the manual somewhere easy to find. Put a reminder in your calendar to inspect food condition, lens visibility, mounting hardware, and power.
Separate washable food-contact parts from electronics according to the manual. Read our feeder cleaning guide before the first clean, and compare current FurPerch camera bird feeders if you are still choosing a model.
Frequently asked question: will the feeder work without Wi-Fi?
That depends on the model and function. A tray can still hold seed while app viewing, uploads, identification, or alerts may depend on connectivity. Check the manual for offline behavior instead of assuming all functions continue.